Create a Pull Zone
Log in to your bunny.net dashboard and create a new Pull Zone with your Drupal site as the origin URL. For details, see How to create your first Pull Zone.Match the protocol of your site exactly. If your Drupal site runs on HTTPS, enable HTTPS on the Pull Zone; if it runs on HTTP only, leave HTTPS disabled. A mismatch will cause errors.
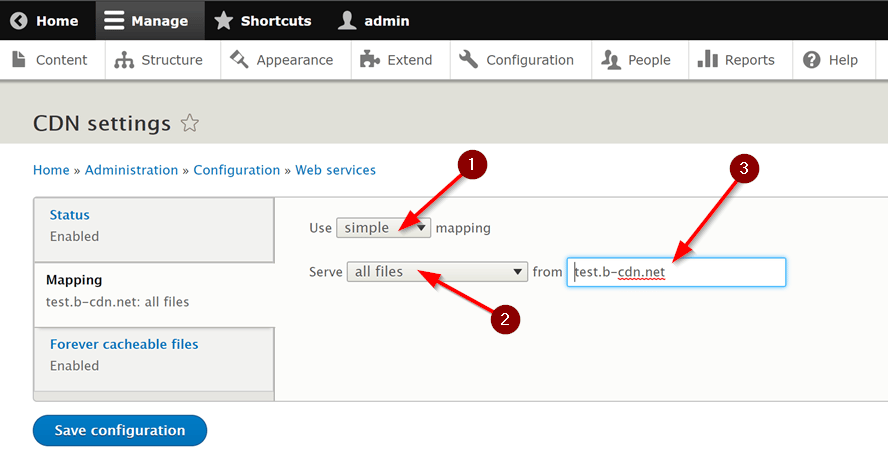
You can set a long Cache-Control time for Drupal. The CDN module serves updated elements from new URLs, so changes appear immediately without waiting for the cache to expire.
Install the CDN module
Download the latest 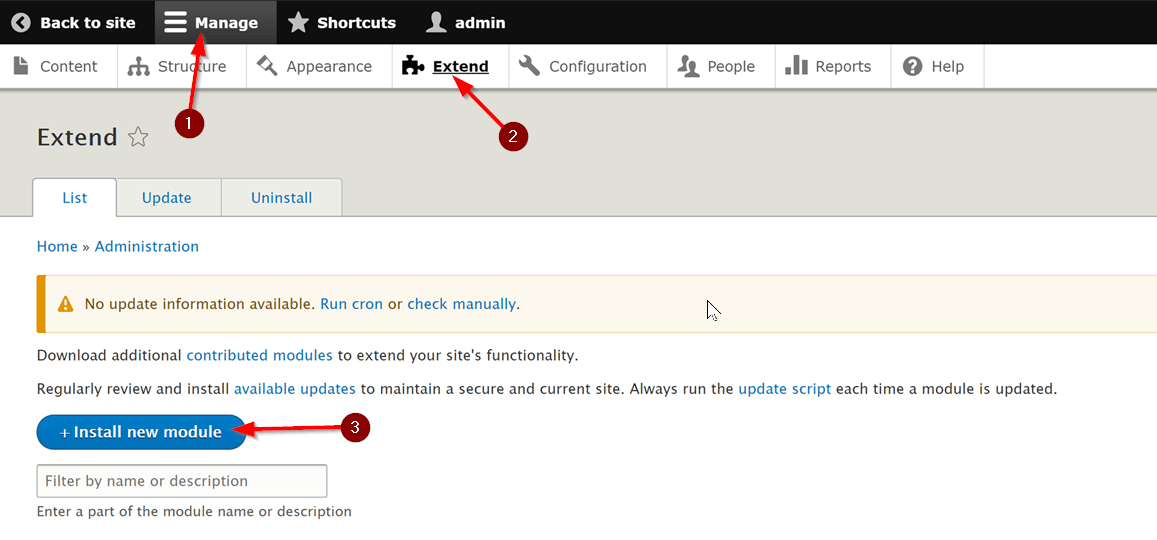
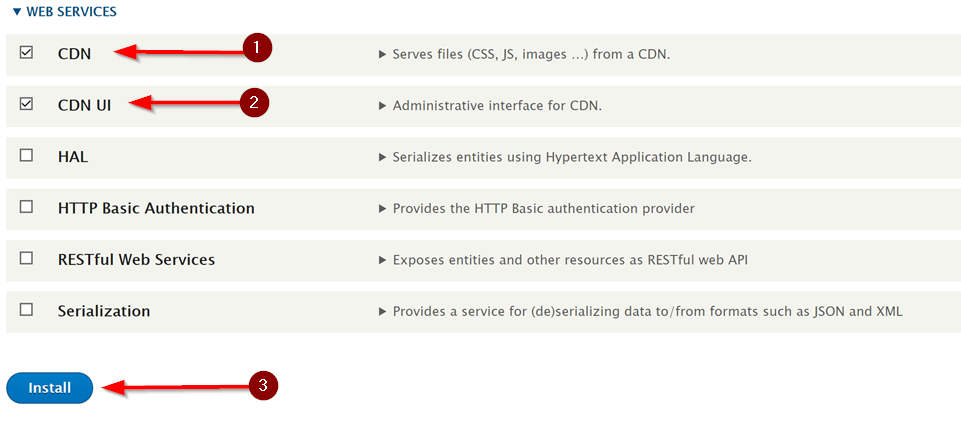
.tar.gz release of the Drupal CDN module and copy its download URL. You’ll need SSH or FTP access to your site.In the Drupal admin, select Manage, then Extend, then Install new module..tar.gz URL, click Install, and provide your SSH/FTP credentials when prompted. When the installer finishes, click Enable newly added modules.Scroll to the Web Services section, select the CDN and CDN UI modules, then click Install.Configure the CDN module
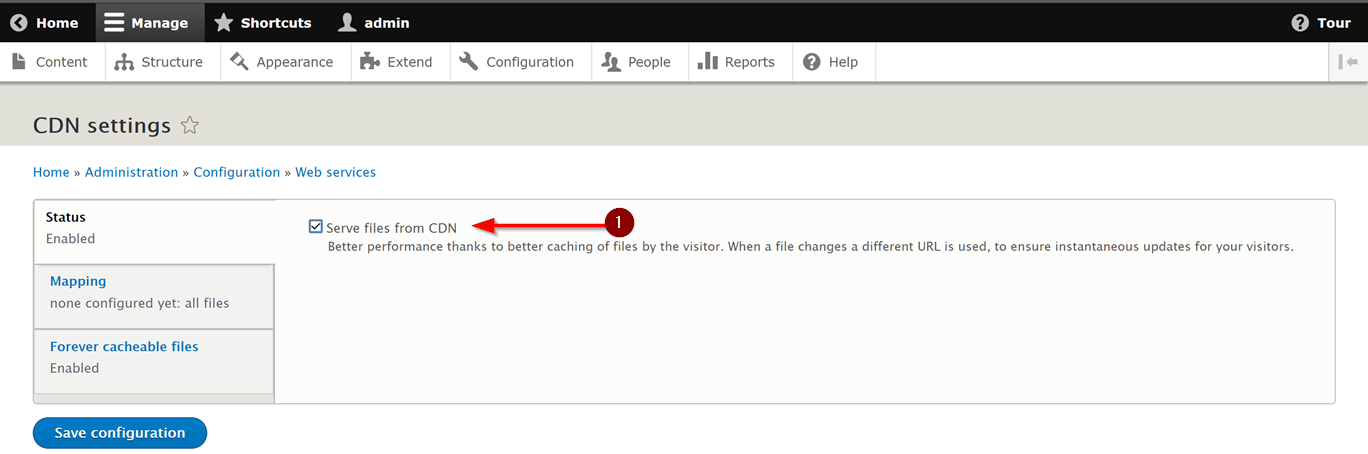
Go to Manage → Configuration, scroll to the bottom, and click CDN Integration. On the Status tab, make sure Serve files from a CDN is enabled.