Create an S3 bucket and upload a file
If you don’t already have a bucket, sign in to the AWS Management Console, click Create bucket, and follow the prompts (see Amazon’s guide for details). Upload a file and give it public-read permissions.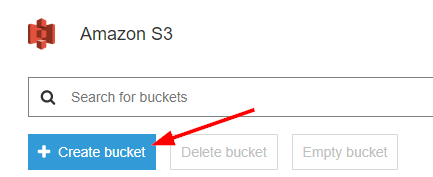
Find your bucket's public URL
Click the uploaded file to open its details, which include the public link. Copy only the first part of the link, the hostname and bucket path, for example 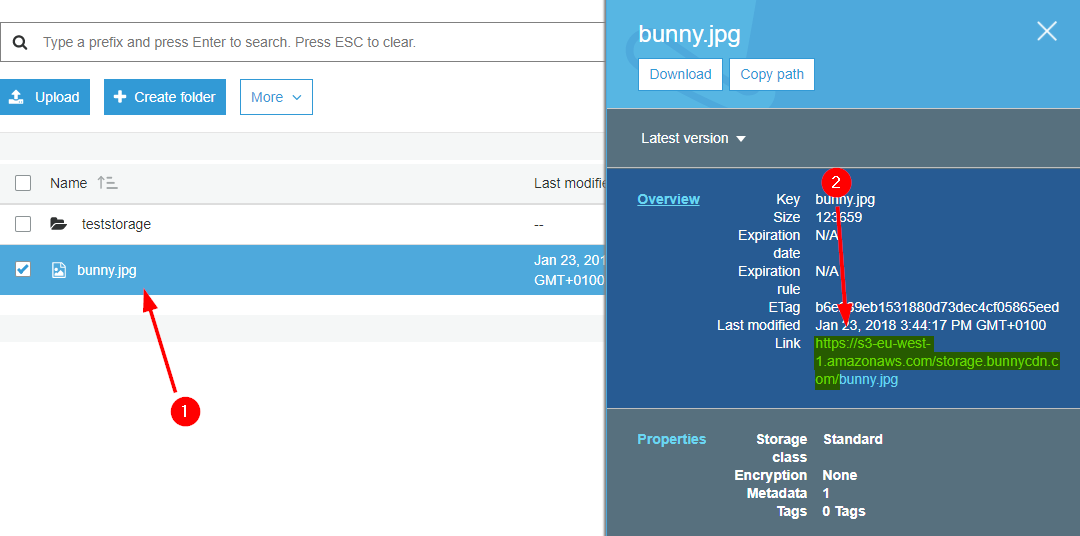
https://s3-eu-west-1.amazonaws.com/your-bucket/. Don’t include the file name.Create a Pull Zone
Log in to your bunny.net dashboard and create a new Pull Zone. Give it a name (this becomes your CDN hostname) and paste the URL from the previous step into the Origin URL field, then choose your pricing tiers and click Add Pull Zone. For details, see How to create your first Pull Zone.
Test your Pull Zone
Once the configuration has synced to the edge network, request a file through your Pull Zone hostname, for example:If the file is served, Bunny CDN is caching content from your bucket. Replace your S3 URLs with the Bunny CDN URLs in your application to start serving cached content.